In design school, they never taught us what the word " budget " really meant. Yes,of course we know what budget is, but we were so often given a project that's " Unlimited Budget ", so when we first started doing our own project, it was shocking how everything is not all about design, but meticulous calculation and accounting.

Putting new subway tiles on, I think fresh& clean subway tiles are great for this type of home, by putting large white space, it makes the bathroom appears brighter and bigger.
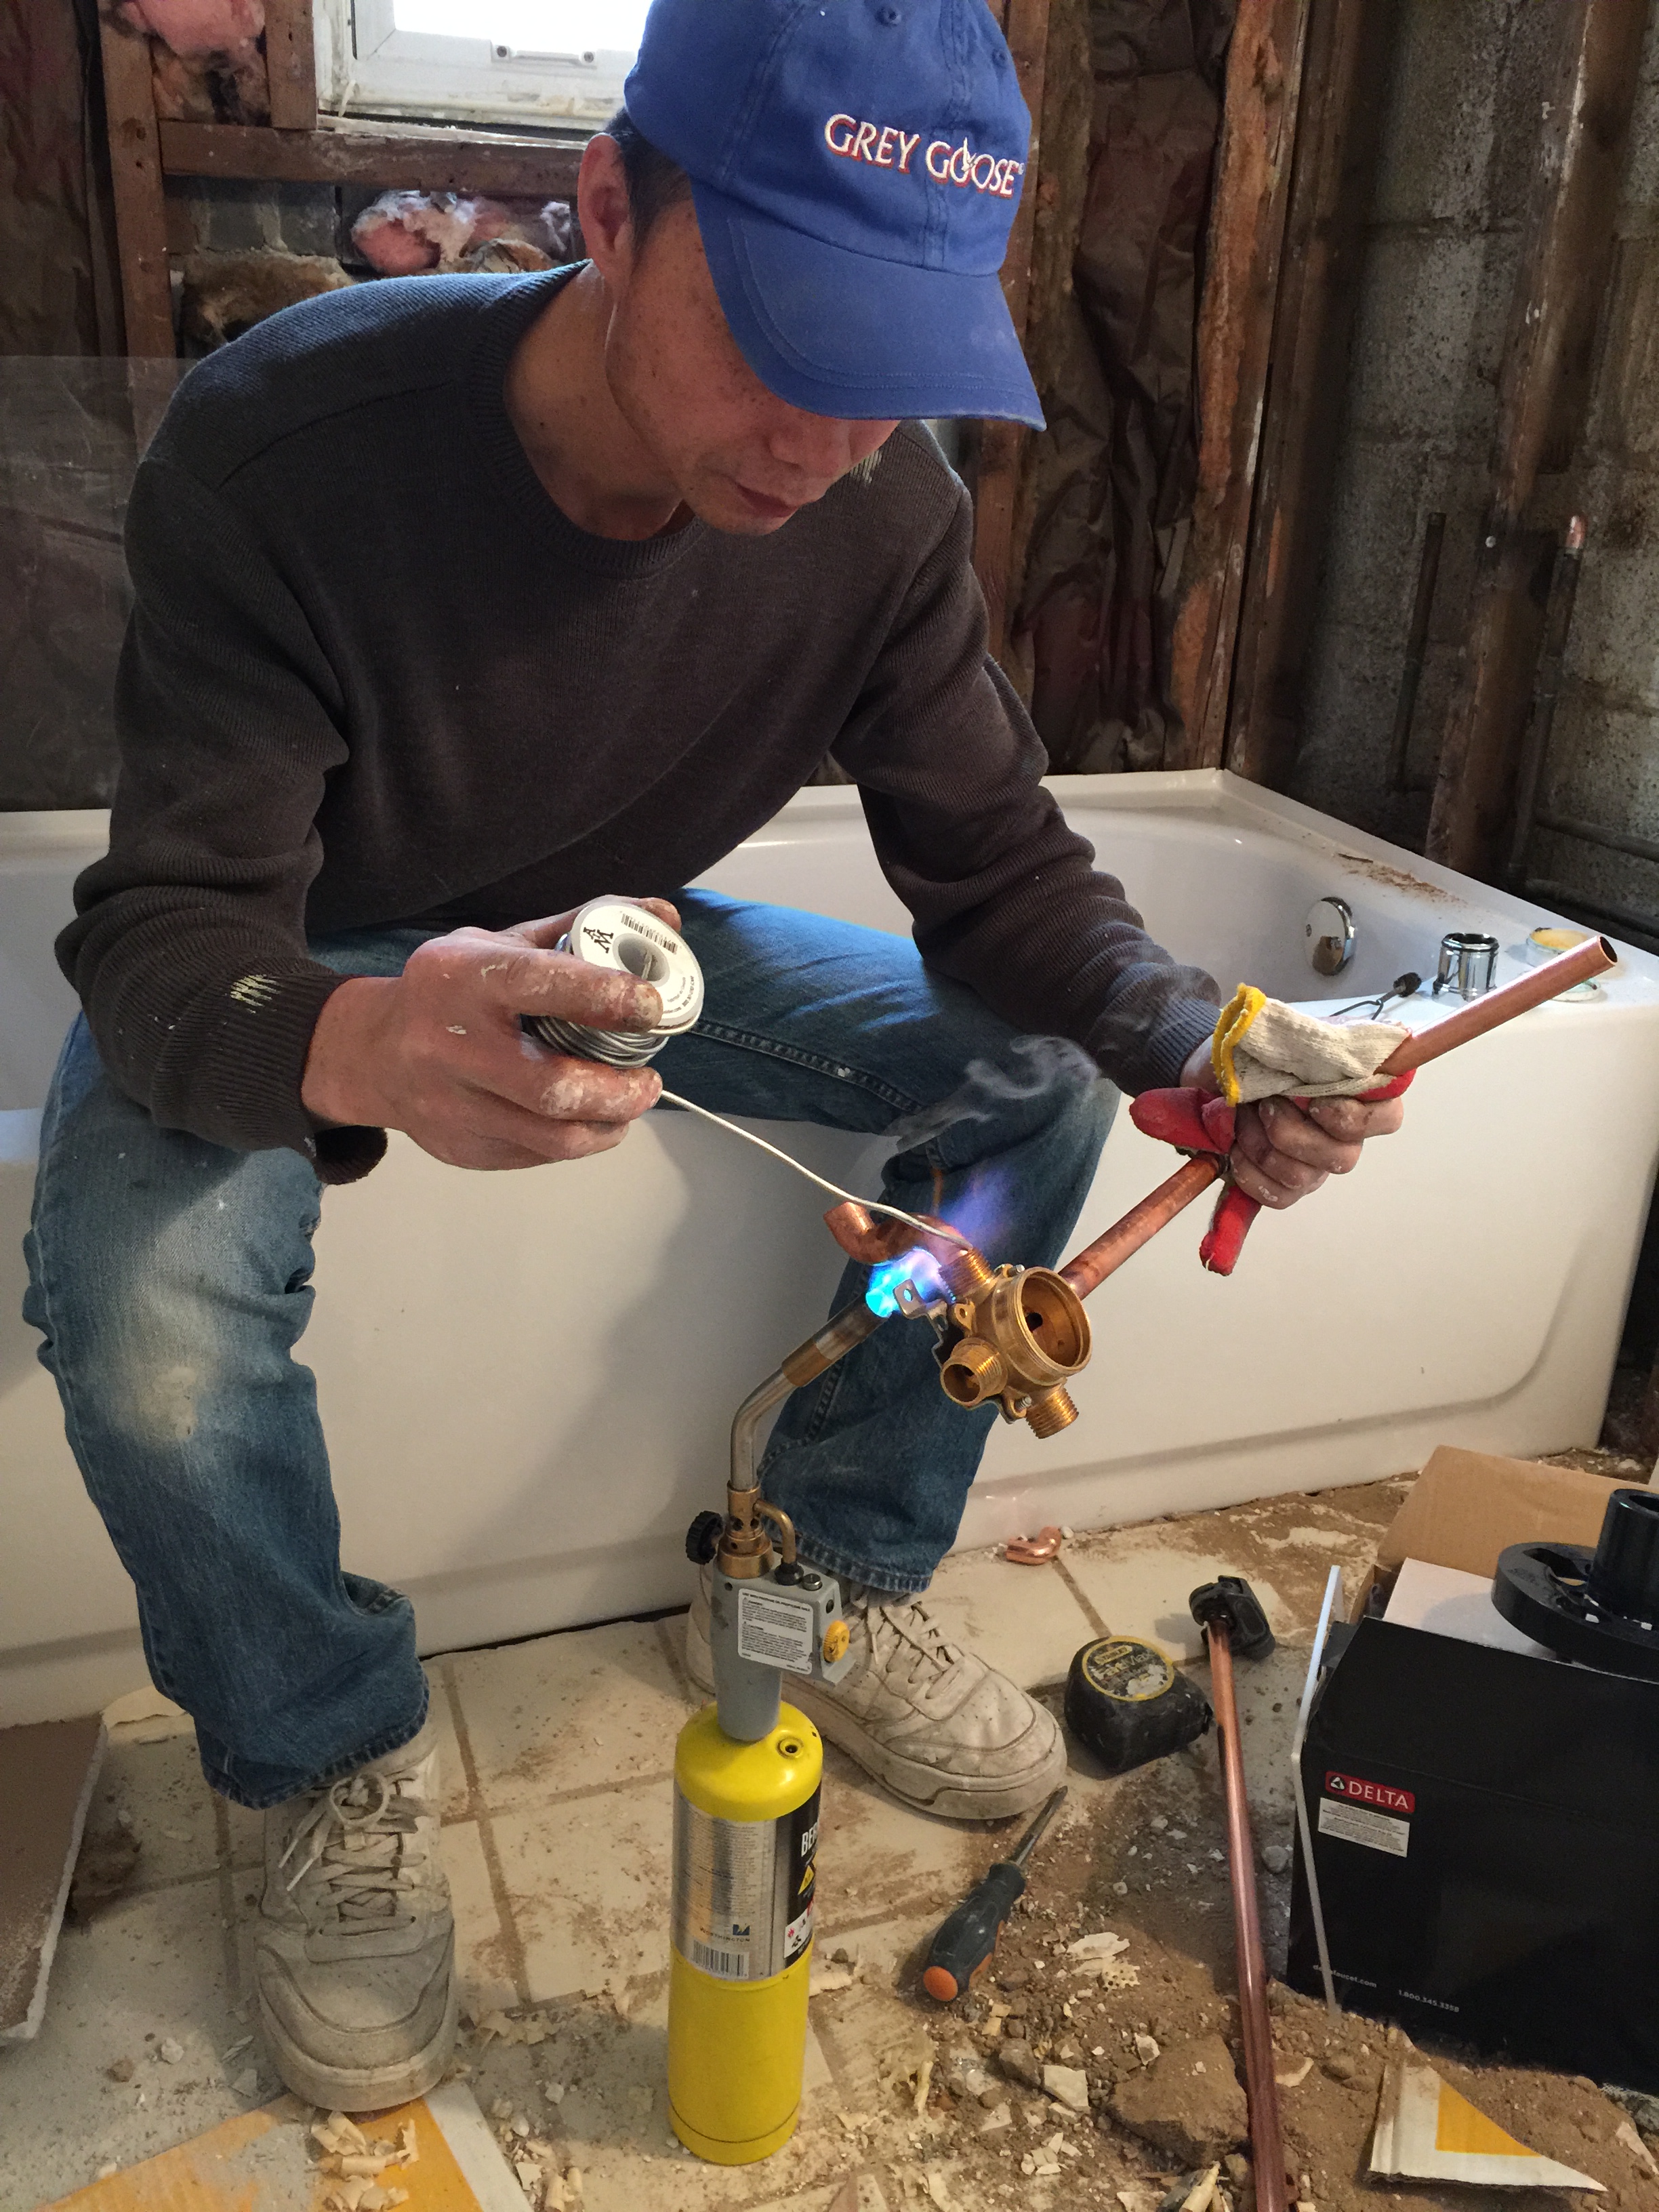
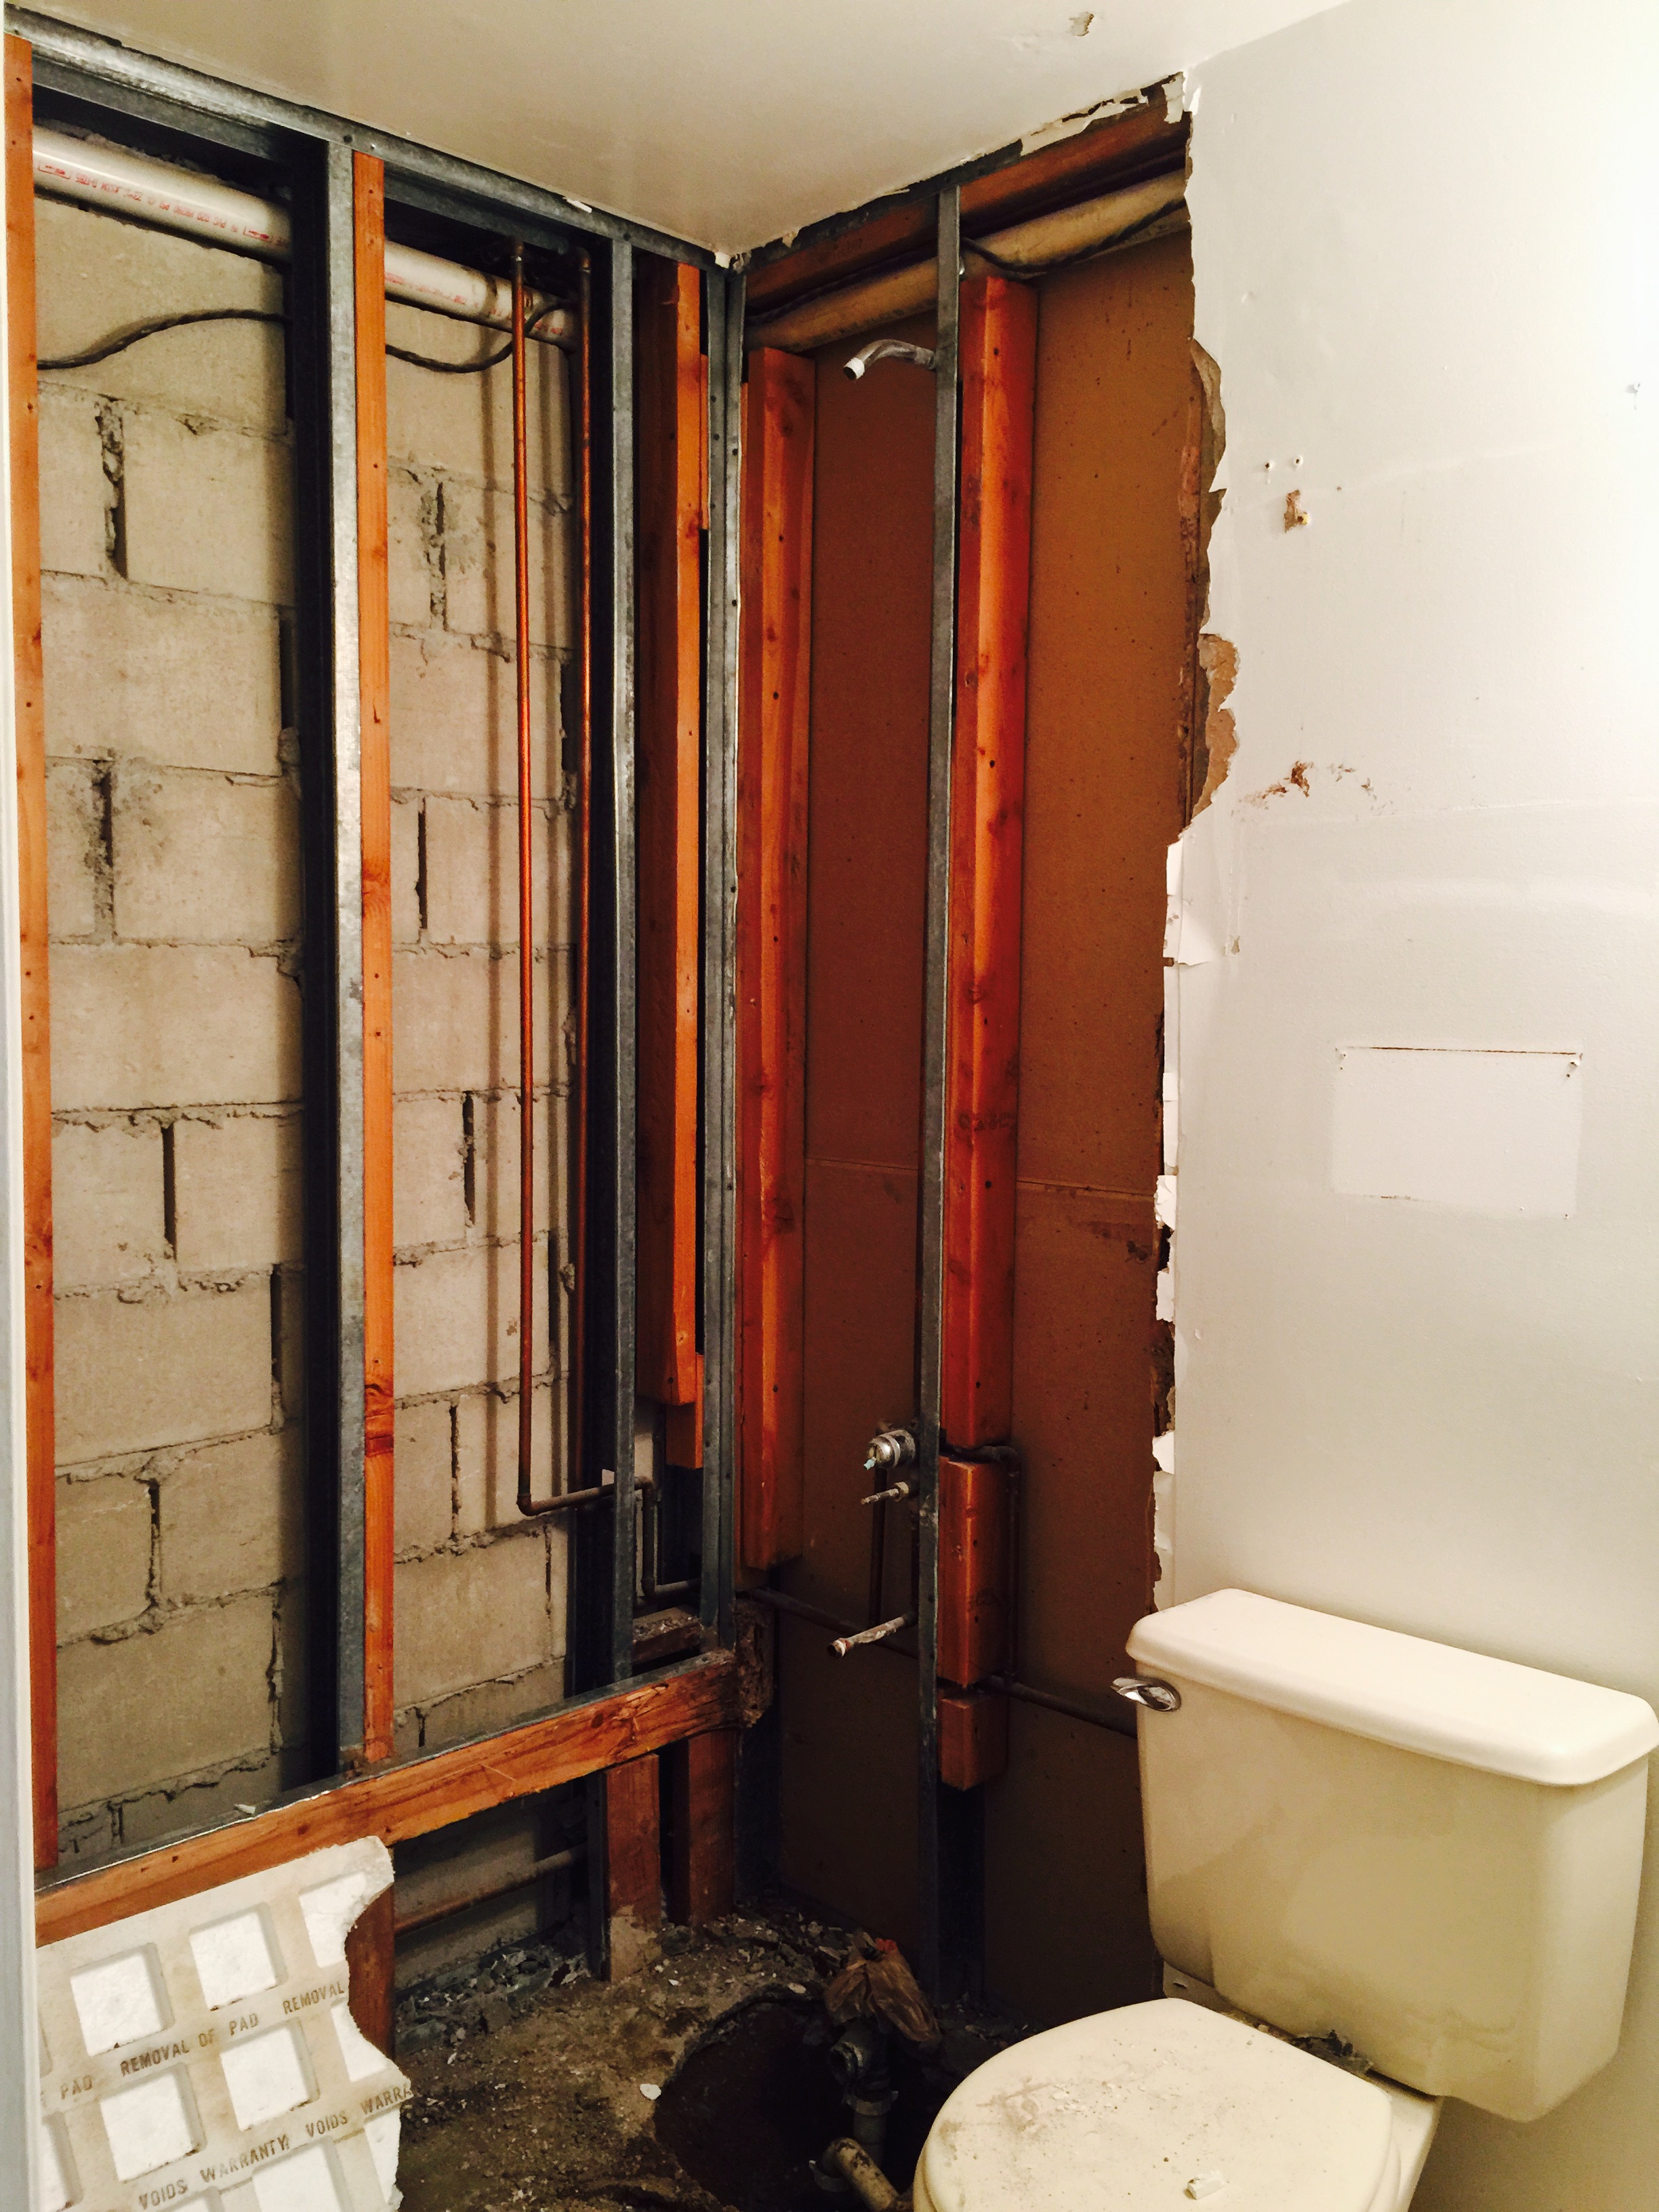
Turns out the old plumbing pipes are very rusted, my contractor recommended changing the whole set. After the little ceiling explosion instance, I think safety is more important than anything else.

New floor tiles, I decided to go with large grey tiles with a bit of stripe pattern, this is easy to hide the dirt, and provides a bit of grip to it.
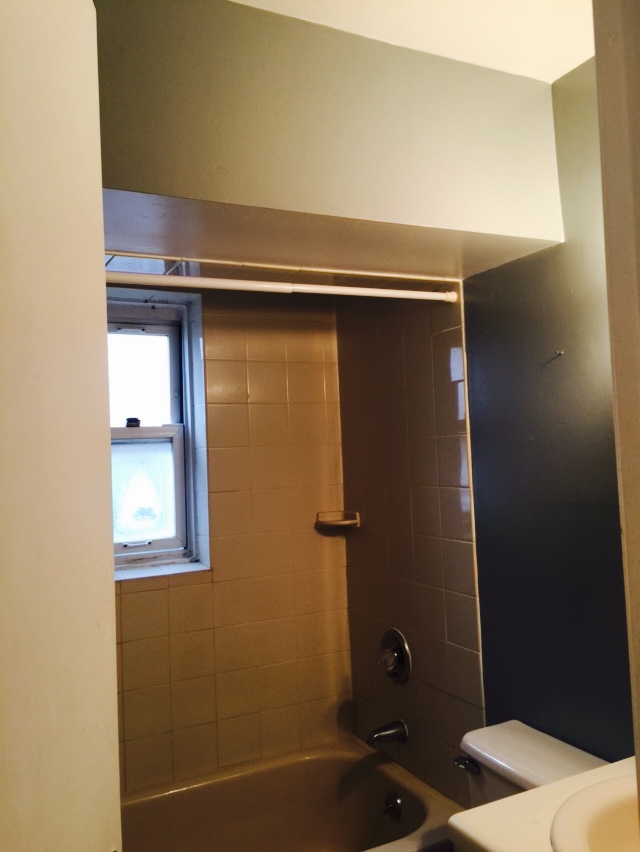
Here's the before and after of the Bathroom!


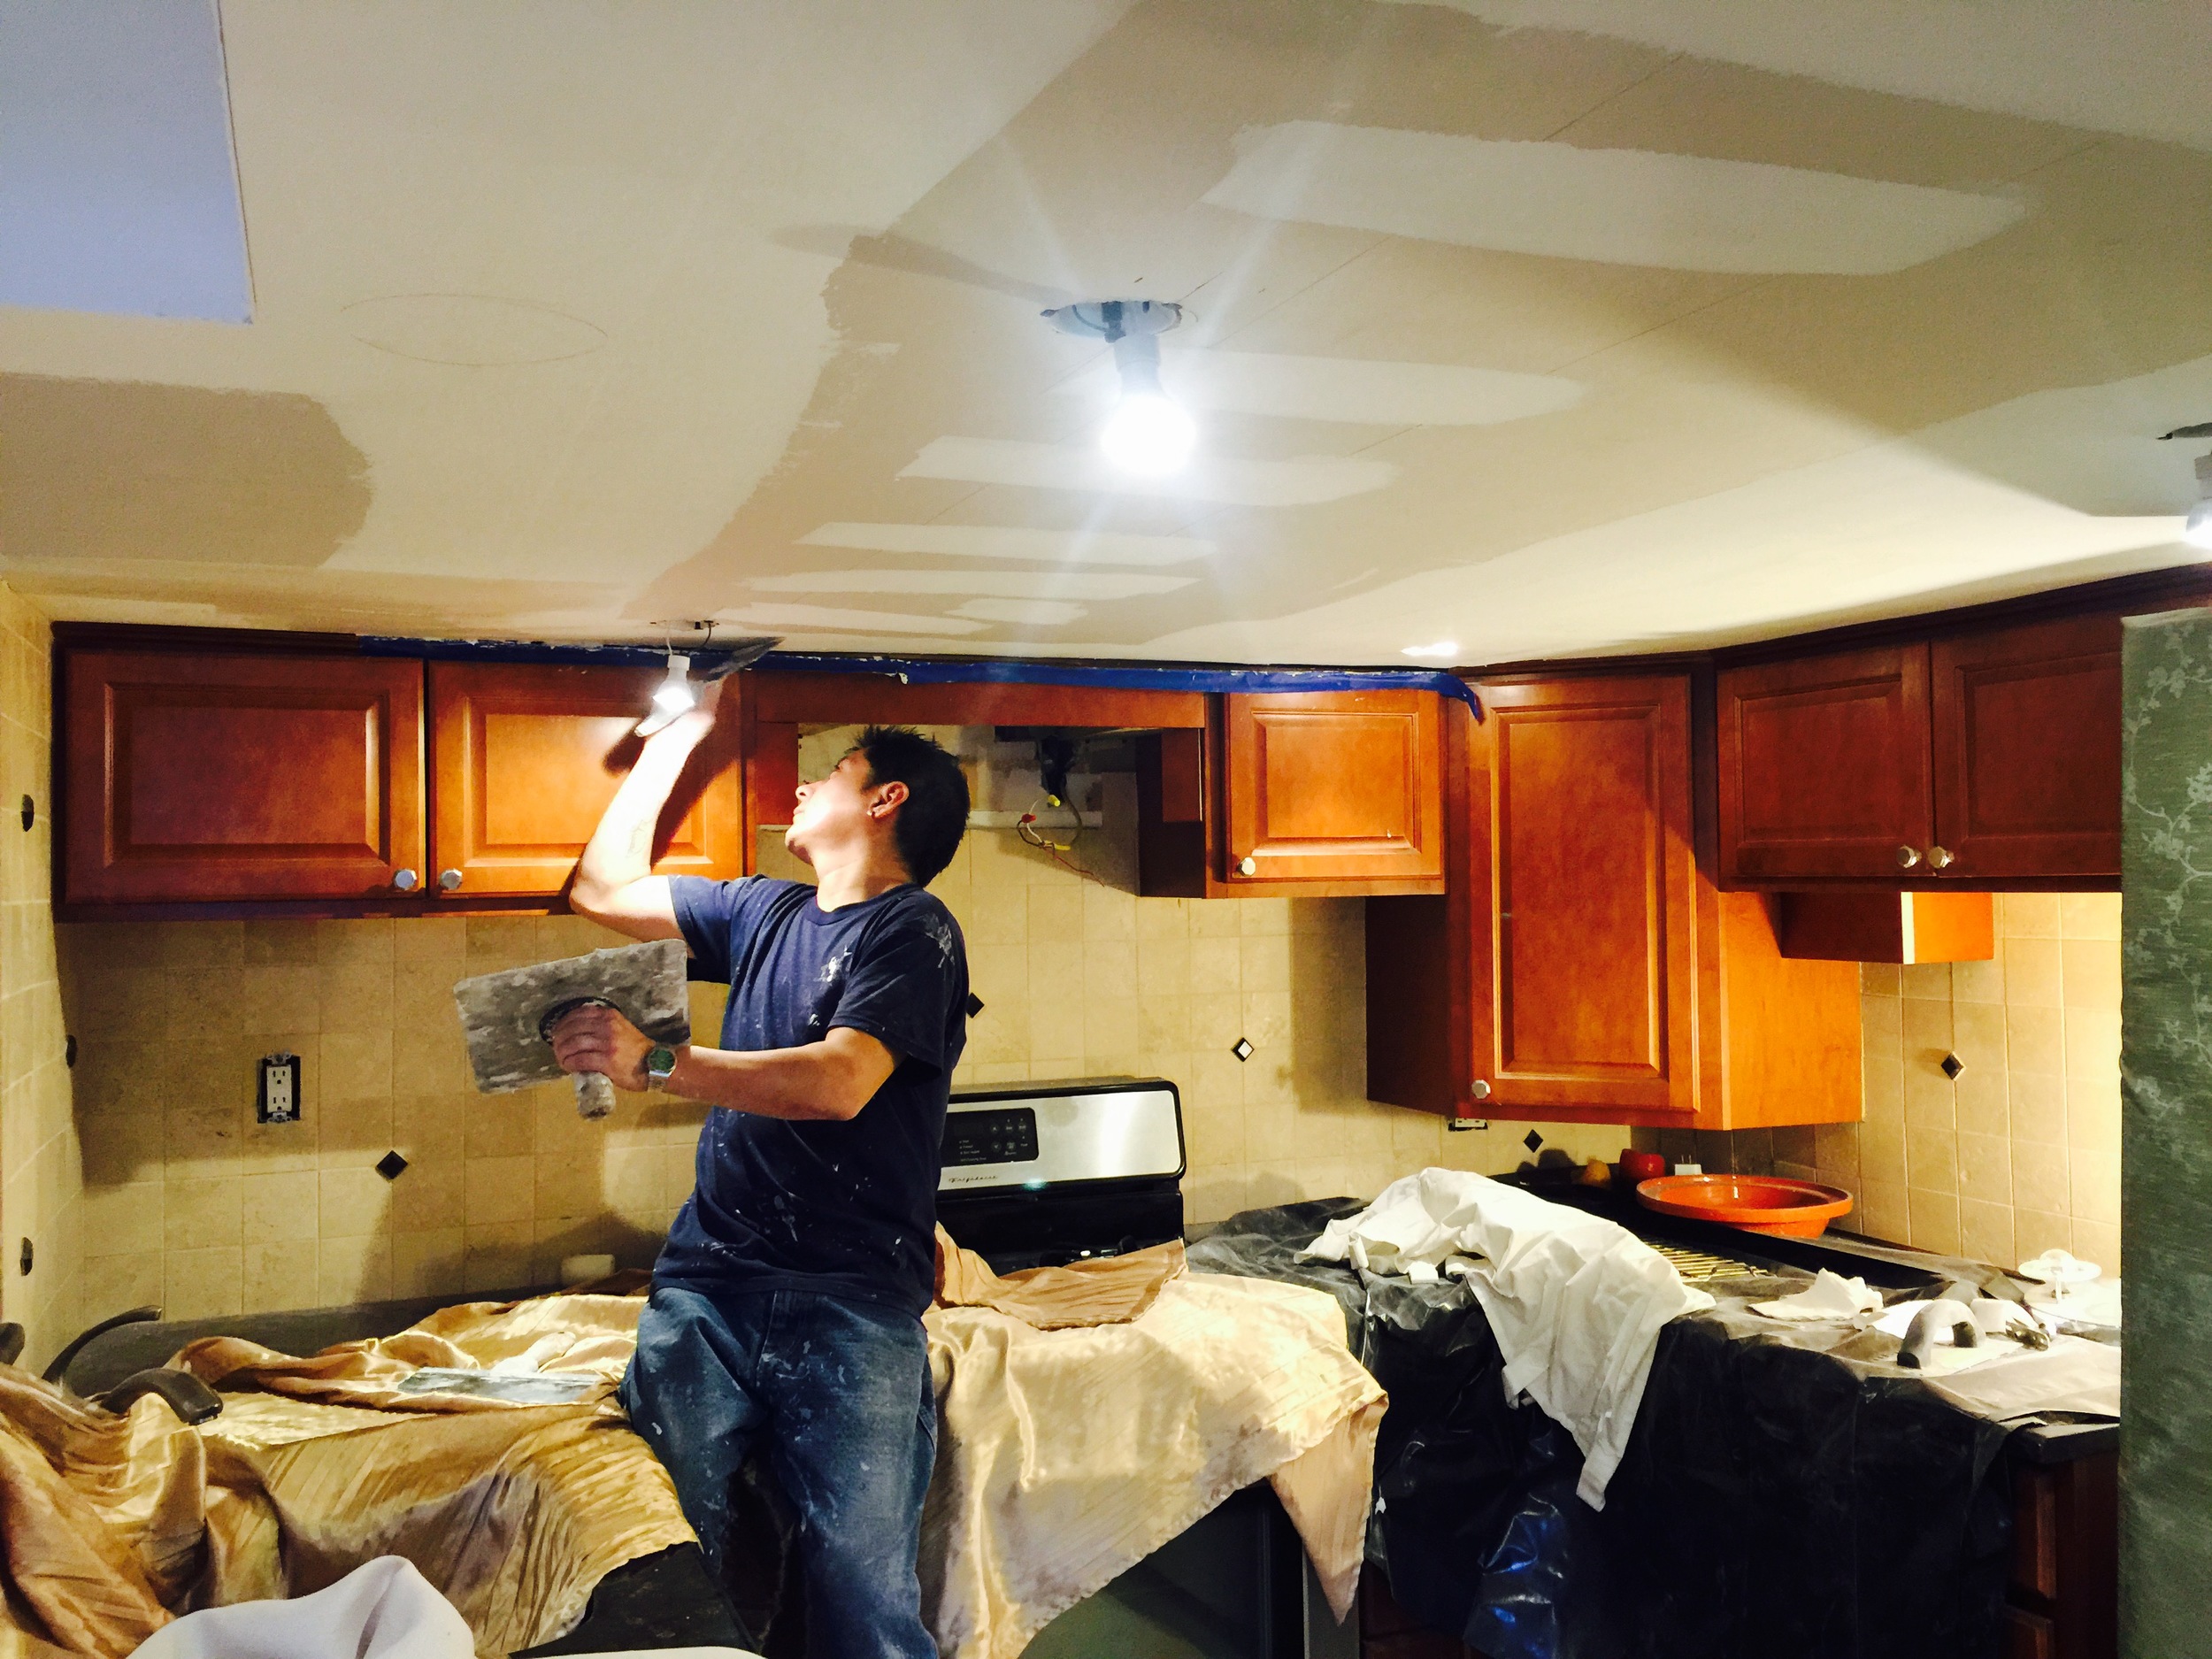
After down lights has been installed, the ceiling was finally fixed. After that, its going to be totally on us to re-finished the cabinet to white.
It was very time consuming process, layers and layers of plastic deep paint has to be apply to the cabinet. However, this product did avoid the sanding down process, which saved us a lot of time and labor.

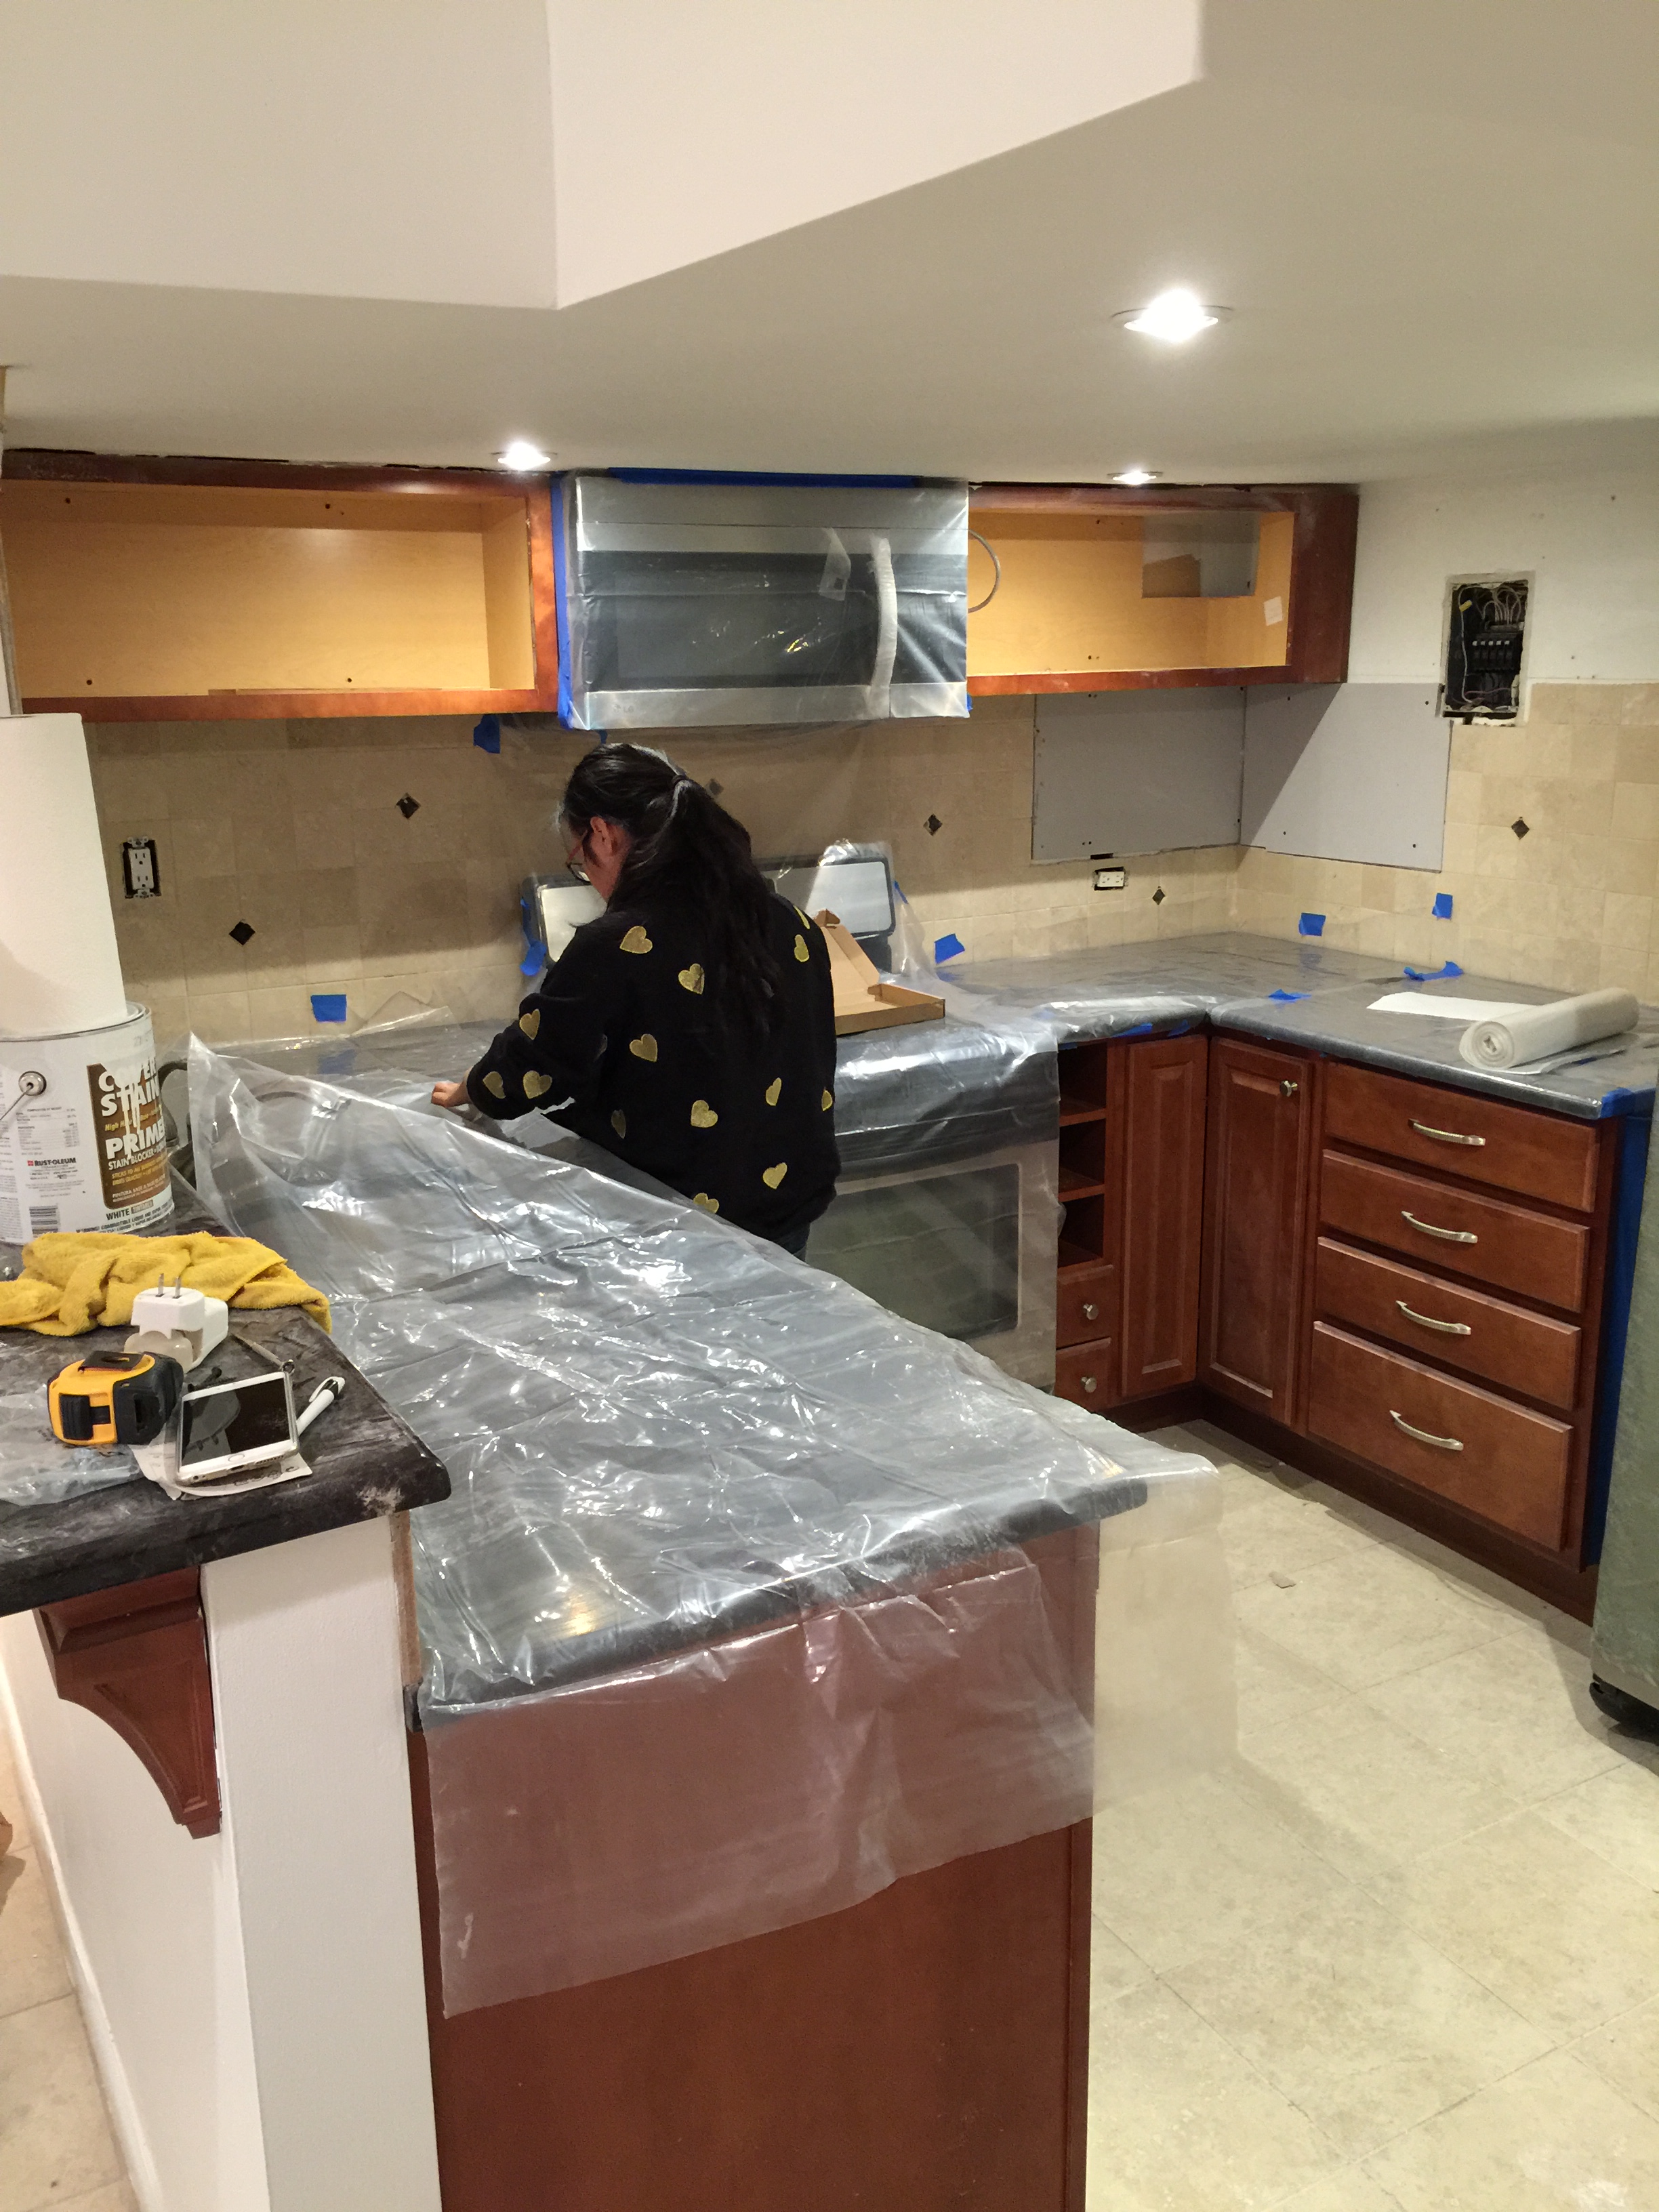
First, we have to take all cabinet panels down from the cabinet, they have to be dipped individually. All surfaces and appliance has to be cover with plastic protector.
The process is a little bit like air brush, the technique is really to apply very thin layer each time, allows it to dry, and keep repeating the process until the material reach to a desire thickness.

This material drys very fast, so between each application, the spray head has to be removed and clean inside out.

Around 5 layers later, this is what the cabinet look like, we choose pure white, this will make the kitchen a lot newer and appears to be cleaner. We also change all the cabinet nob, this is a quick and easy trick I learn to upgrade your kitchen without spending a lot of budget on new cabinet doors.
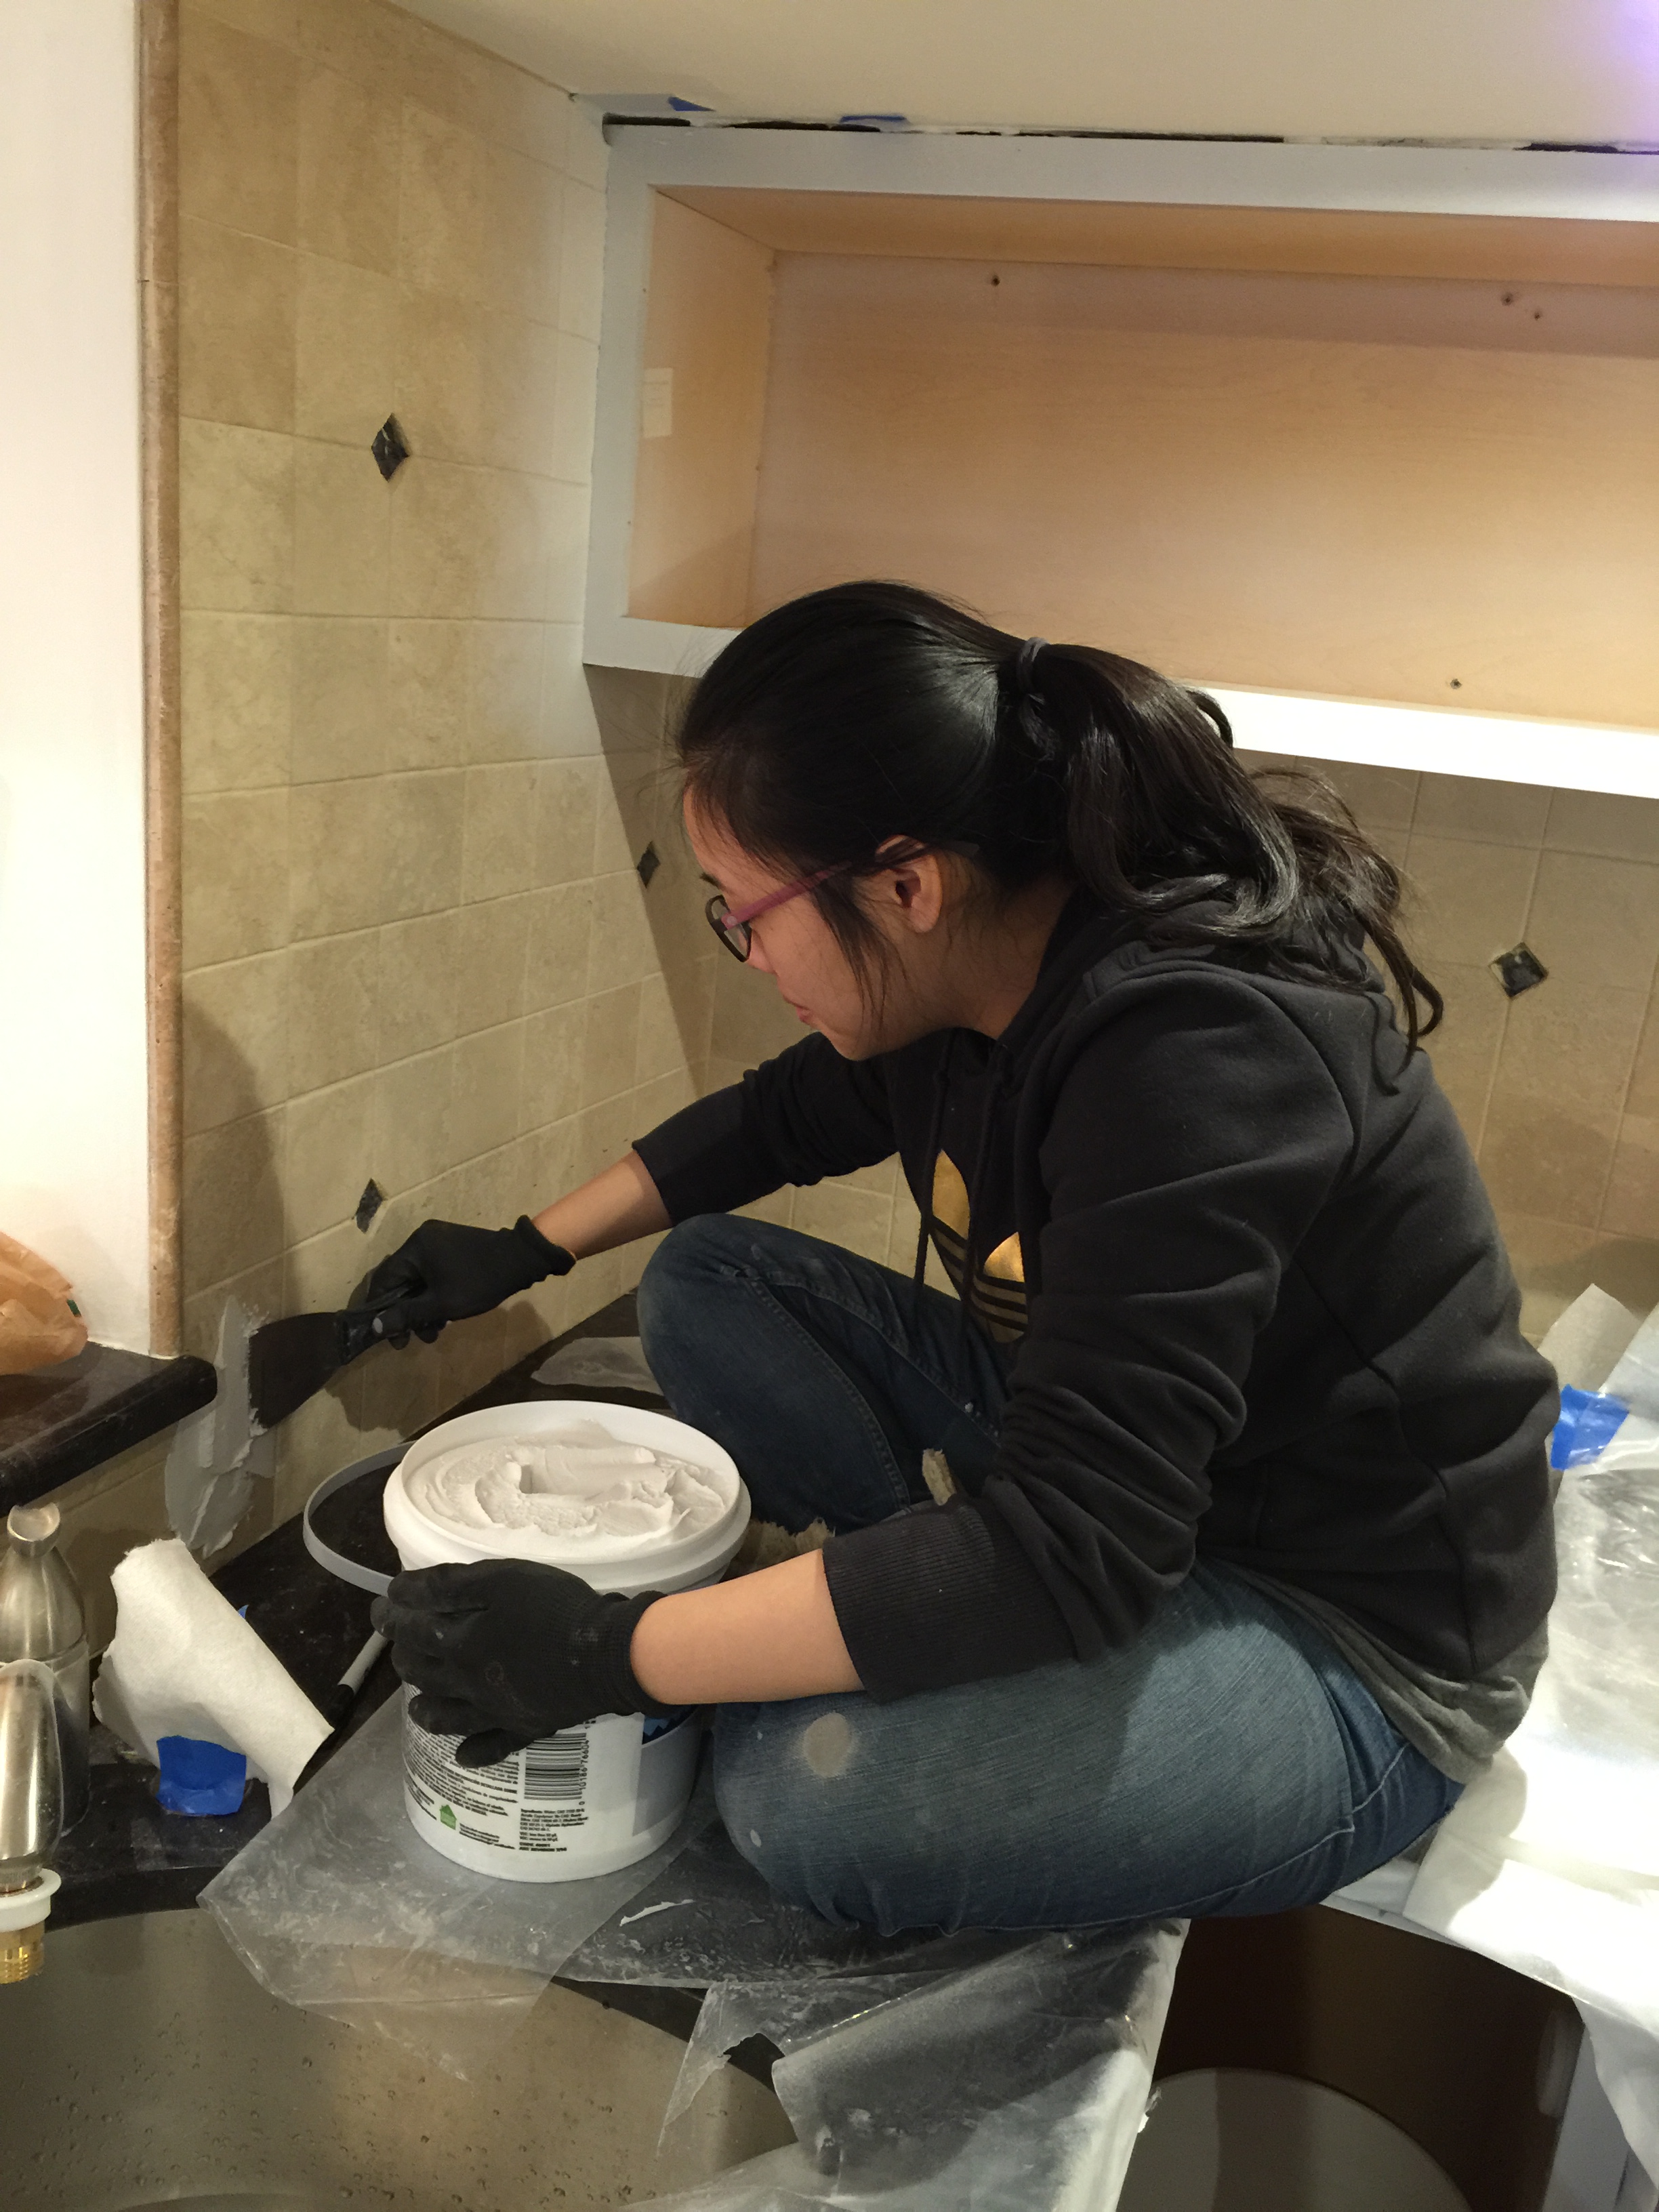
After changing the cabinets to white, it's clear that the old tiles in it's beige, brownish tone was not what we want. The contractor however, told us that it was not possible to knock down the tiles without damaging the dry wall. A very efficient way was to do a tile over tile.

It's all very TLC, only the hardest part was to cut the tiles and matching the grout with the tiles, i choose the color snow white, turns out to be pretty good.
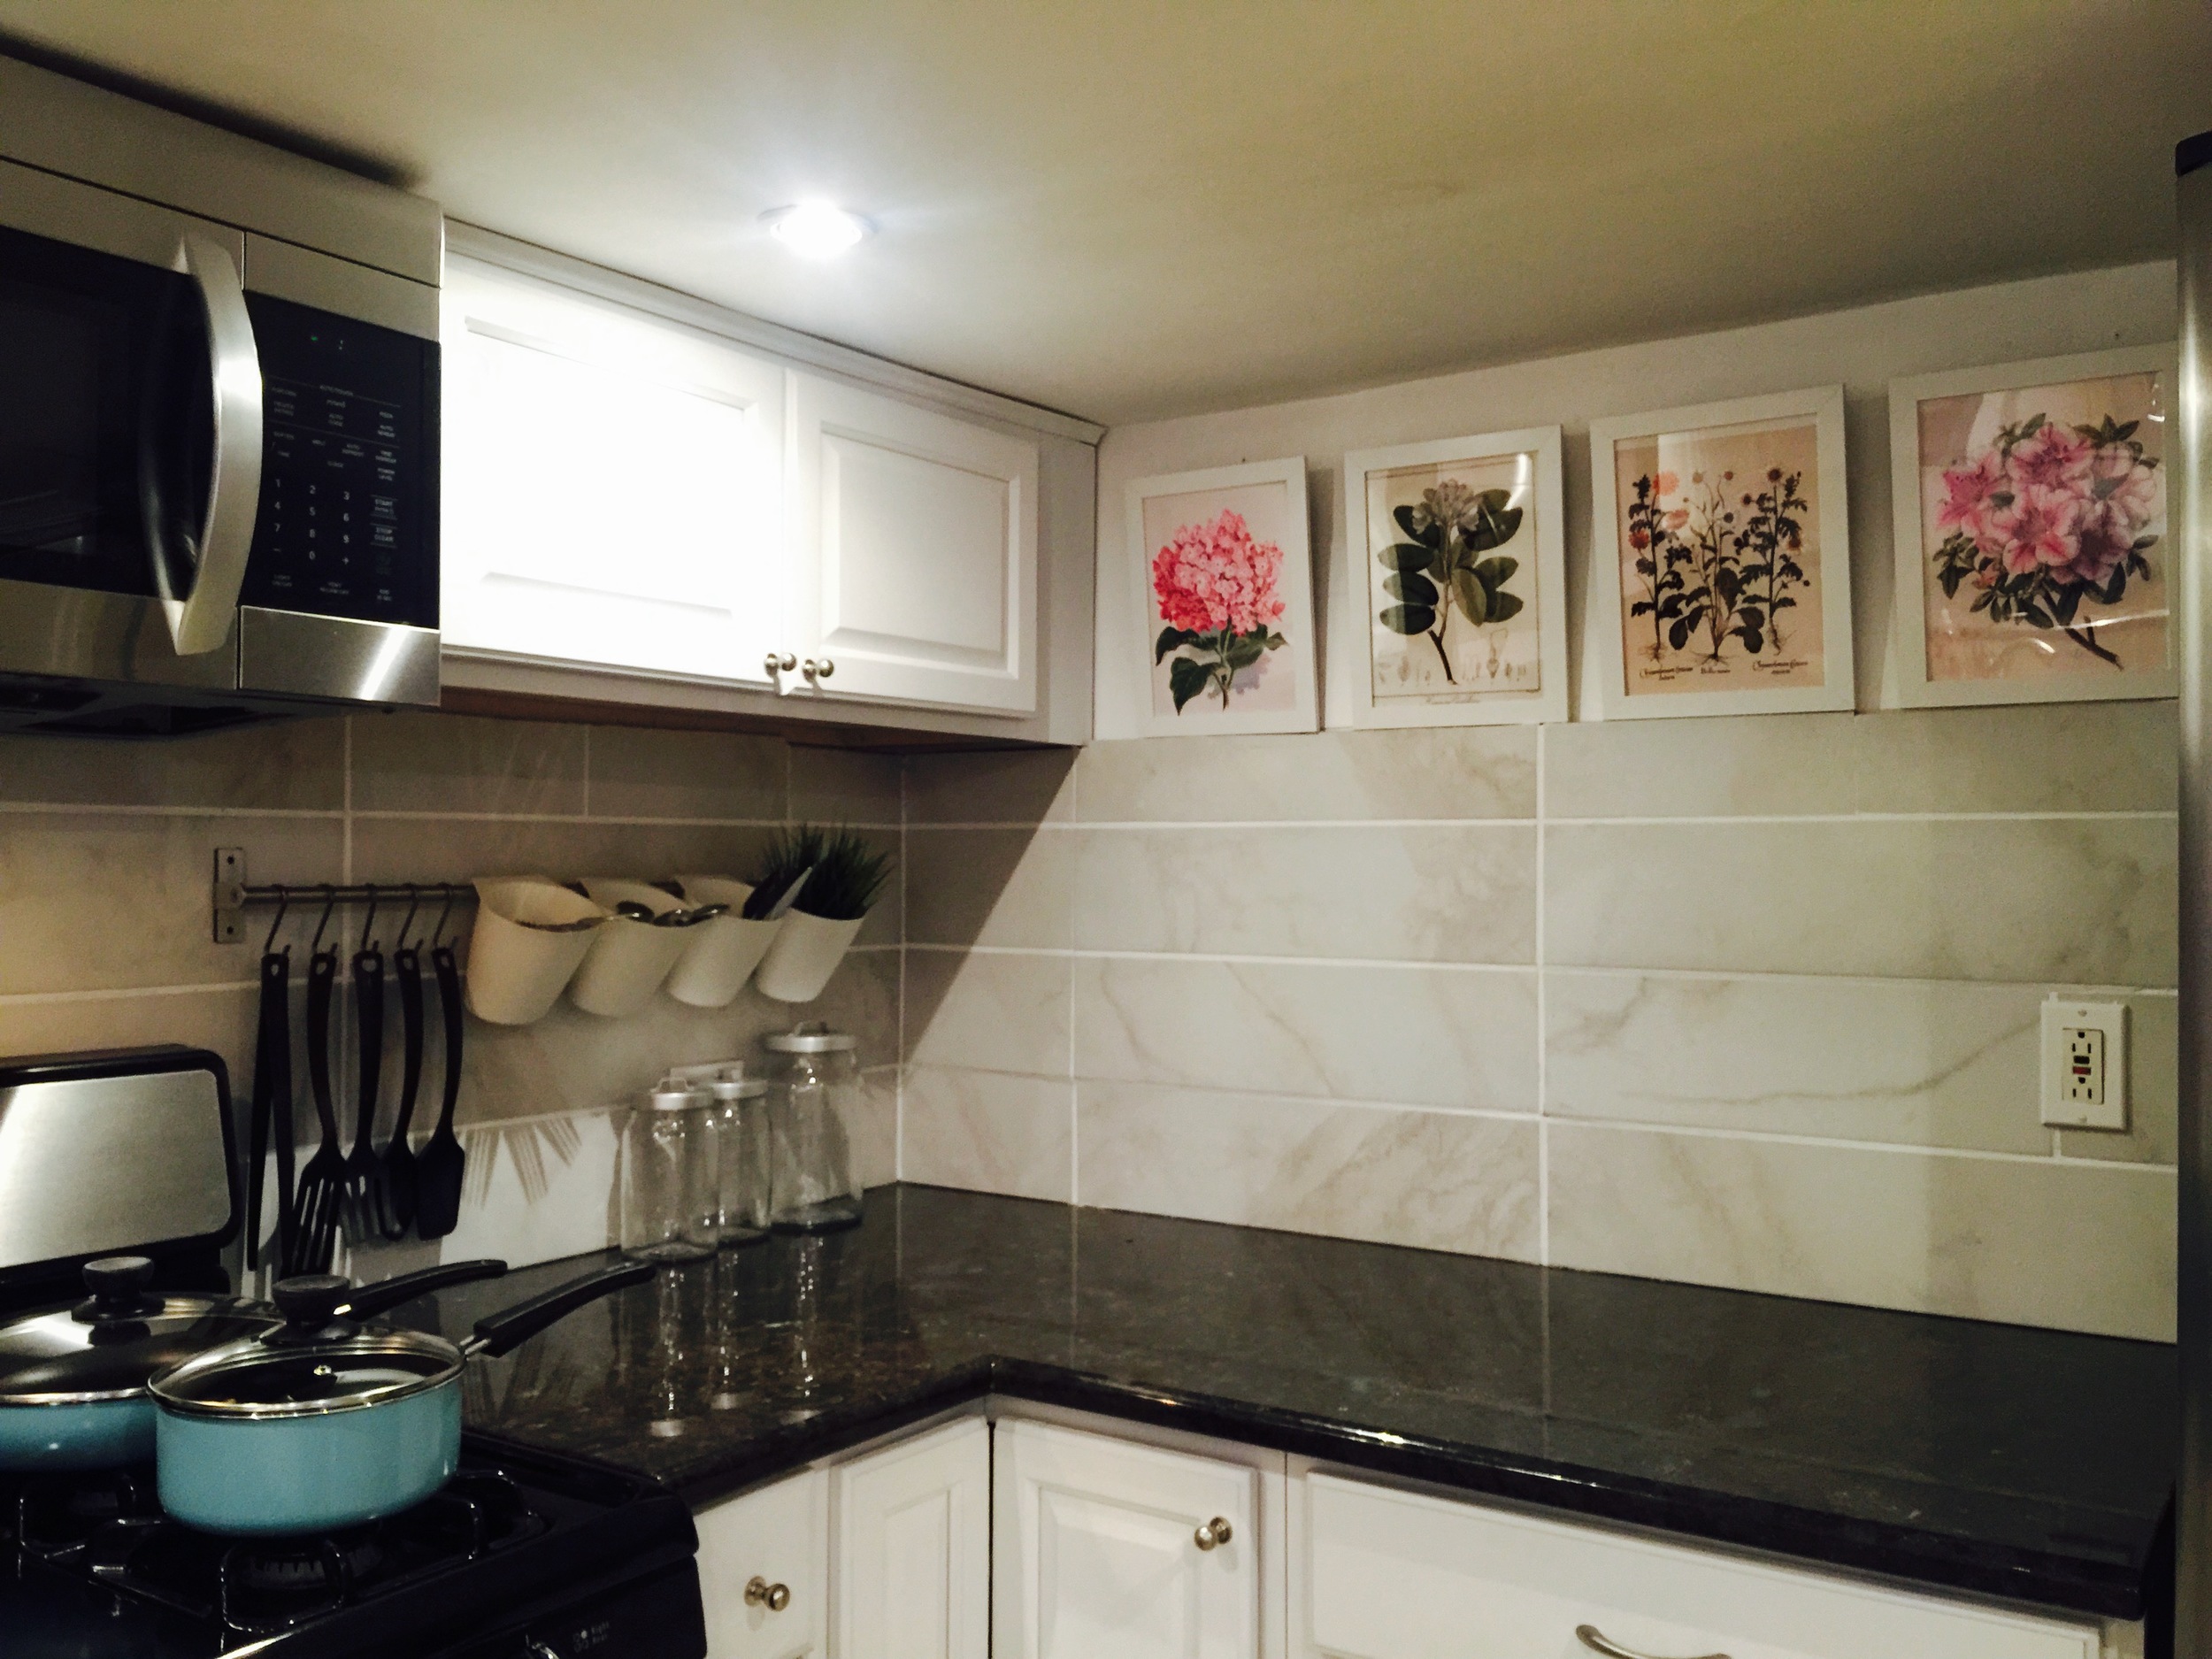
Here's the before and after photo of the kitchen! Can't believe we got it done in 2 days!